So, you’d like to print a brain?
Just in time for the holidays — my tutorial on how to 3D print a brain. This tutorial is presuming that you’re starting with a T1-weighted MRI scan. Maybe you have a copy of your own T1 scan. Maybe you had a friend pilot test your study, and now you want to give them an odd gift to thank them. Whatever the reason, you’ve come to the right place.
My tutorial is adapted from this one on the layer fMRI blog. Their tutorial got me started. Here, however, I’ll note the few things I had to do slightly differently from their tutorial to get everything to work. I’ll also talk about the companies I’ve tried for 3D printing (as our lab doesn’t have a 3D printer, and my university’s “public” 3D printers have been shut down due to COVID).
This tutorial is intended for folks who are novices in FreeSurfer. If you already frequently use FreeSurfer — and maybe have already run recon-all on your T1s — then you can skip to the end of my tutorial, or just check out the layer fMRI blog for the NIFTI to STL file command.
For the novices, let’s get started:
1. Start with FreeSurfer.
First, download FreeSurfer, if you don’t already have the program. FreeSurfer is open source software for processing and analyzing (human) brain MRI scans.
If you have access to a university’s computing cluster, they might already have FreeSurfer installed — so you might want to check this first.
In my case, I installed and ran FreeSurfer locally on my MacBook Pro. This was a pretty quick and relatively painless process.
Specifically, I followed the Mac installation and set-up instructions described here.
After following the download steps, I opened a Mac terminal window and ran this code to set up my FreeSurfer environment. [Note: the “7.2.0” part was specific to my install. Adjust this accordingly.]
export FREESURFER_HOME=/Applications/FreeSurfer/7.2.0
export SUBJECTS_DIR=$FREESURFER_HOME/subjects
source $FREESURFER_HOME/SetUpFreeSurfer.sh
This resulted in the following output, which matched the expected output on the FreeSurfer set-up page.
-------- freesurfer-darwin-macOS-7.2.0-20210713-aa8f76b --------
Setting up environment for FreeSurfer/FS-FAST (and FSL)
FREESURFER_HOME   /Applications/FreeSurfer/7.2.0
FSFAST_HOME       /Applications/FreeSurfer/7.2.0/fsfast
FSF_OUTPUT_FORMAT nii.gz
SUBJECTS_DIR      /Applications/FreeSurfer/7.2.0/subjects
MNI_DIR           /Applications/FreeSurfer/7.2.0/mni
FSL_DIR           /usr/local/fsl
Running those 3 lines in my terminal completed the FreeSurfer set-up steps! Before proceeding, to check that I exported these variables correctly, I echoed each:
$ echo $FREESURFER_HOME
/Applications/FreeSurfer/7.2.0

$ echo $SUBJECTS_DIR
/Applications/FreeSurfer/7.2.0/subjects
These echoes worked fine! So, I then moved on to the layer fMRI blog steps. [Note that, (if you’re installing FreeSurfer fresh, like I did), by completing the FreeSurfer set-up steps, you’ve already completed half of layer fMRI’s step #2, which asks you to set the FREESURFER_HOME directory and run the SetUpFreeSurfer.sh script:
# ALREADY RUN ABOVE:
/bin/bash
FREESURFER_HOME=/Applications/freesurfer
source $FREESURFER_HOME/SetUpFreeSurfer.sh
So, you do not need to run those lines twice (though it won’t hurt if you do).
2. Place your T1 NIFTI file into a FreeSurfer folder.
This was only my second time using FreeSurfer, so I’m not sure of the best practices for file organization (e.g., particularly if you wanted to keep a large number of subjects organized into groups, studies, etc.). However, for just running a few brains for 3D printing fun, I didn’t worry too much about optimal file organization. I just wanted it to work.
So, I followed the layer fMRI blog advice to paste a copy of the T1 NIFTI file into:
/Applications/freesurfer/7.2.0/subjectsTo check that the NIFTI file copied properly, I navigated to my FreeSurfer subjects folder and listed its contents:
$ cd /Applications/FreeSurfer/7.2.0/subjects
$ ls
README					fsaverage5
RS_brain_vestib_pilot.nii		fsaverage6
V1_average				fsaverage_sym
bert					lh.EC_average
cvs_avg35				mybrain
cvs_avg35_inMNI152			rh.EC_average
fsaverage				sample-001.mgz
fsaverage3				sample-002.mgz
fsaverage4				sample_brain_vestib_tutorial.nii
HHP-SEIDLER-M:subjects admin$
My NIFTI file is called “sample_brain_vestib_tutorial.nii” — so it’s there and should be good to go!
3. Try to run the FreeSurfer recon_all code.
This is the main step — asking FreeSurfer to preprocess your T1. FreeSurfer will produce cortical surface maps that you can convert into a STL file for 3D printing. However, if you’re working with a new FreeSurfer install (or one on a university computing cluster) and you’ve not run recon-all before, you might have a few hiccups before you get it working.
First, you’ll want to try running this line:
recon-all -all -i /Applications/FreeSurfer/7.2.0/subjects/sample_brain_vestib_tutorial.nii -s tutorial_outputEdit the path if needed to match your FreeSurfer install. Set the last part (*.nii) to match the name of your NIFTI file. And put what you’d like to call your output folder after the -s flag (I called mine “tutorial_output”).
My first hiccup: /Applications/FreeSurfer/7.2.0/subjects/ did not have write permissions. recon-all returned a “Permission Denied” error. Thus, since I was working on a personal computer (rather than e.g., a computing cluster), I just hit it with a liberal chmod (change / modify folder permissions) statement:
chmod -R a+w $FREESURFER_HOME/subjects/After this, I checked the folder permissions and could verify that all users now had read (r), write (w), and execute (x) permissions for the /Applications/FreeSurfer/7.2.0/subjects/ folder:
ls -l $FREESURFER_HOME/
drwxrwxrwx   21 root   wheel    672 Dec 14 19:50 subjects
My next hiccup: I tried running the recon-all command again, and got hit with this error:
ERROR: FreeSurfer license file /Applications/FreeSurfer/7.2.0/.license not found.
  If you are outside the NMR-Martinos Center,
  go to http://surfer.nmr.mgh.harvard.edu/registration.html to
  get a valid license file (it's free).
The license must’ve been something I missed previously during the installation process… so I followed the instructions to get my (free) FreeSurfer license. I headed to this site and registered. From this process, I got a license file called license.txt — a very brief (4-line), auto-generated text file. As instructed, I copied the license text file into my FreeSurfer installation folder /Applications/FreeSurfer/7.2.0/
$ ls *lic*
license.txt
After fixing the license issue, I was good to go! I ran the recon-all line again — and it worked! My terminal screen started populating with verbose output detailing all of the FreeSurfer steps that had started:
$ recon-all -all -i /Applications/FreeSurfer/7.2.0/subjects/sample_brain_vestib_tutorial.nii -s tutorial_output
Subject Stamp: freesurfer-darwin-macOS-7.2.0-20210713-aa8f76b
Current Stamp: freesurfer-darwin-macOS-7.2.0-20210713-aa8f76b
INFO: SUBJECTS_DIR is /Applications/FreeSurfer/7.2.0/subjects
Actual FREESURFER_HOME /Applications/FreeSurfer/7.2.0
Darwin HHP-SEIDLER-M.local 20.6.0 Darwin Kernel Version 20.6.0: Wed Jun 23 00:26:31 PDT 2021; root:xnu-7195.141.2~5/RELEASE_X86_64 x86_64
/Applications/FreeSurfer/7.2.0/subjects/tutorial_output
\n mri_convert /Applications/FreeSurfer/7.2.0/subjects/sample_brain_vestib_tutorial.nii /Applications/FreeSurfer/7.2.0/subjects/tutorial_output/mri/orig/001.mgz \n
mri_convert /Applications/FreeSurfer/7.2.0/subjects/sample_brain_vestib_tutorial.nii /Applications/FreeSurfer/7.2.0/subjects/tutorial_output/mri/orig/001.mgz
INFO: using NIfTI-1 qform
reading from /Applications/FreeSurfer/7.2.0/subjects/sample_brain_vestib_tutorial.nii...
TR=0.00, TE=0.00, TI=0.00, flip angle=0.00
i_ras = (-0.998137, -0.0432817, 0.0430108)
j_ras = (0.0432622, -0.999063, -0.00138521)
k_ras = (0.0430304, 0.000478115, 0.999074)
writing to /Applications/FreeSurfer/7.2.0/subjects/tutorial_output/mri/orig/001.mgz...
#--------------------------------------------
#@# MotionCor Tue Dec 14 20:14:42 EST 2021
Found 1 runs
/Applications/FreeSurfer/7.2.0/subjects/tutorial_output/mri/orig/001.mgz
So, I let it run! For me, this took a little over 4.5 hours (which was much faster than the 24 hours predicted by the layer fMRI blog!). This timing will heavily depend on your computer or cluster.
Started at Tue Nov 23 16:08:04 EST 2021
Ended   at Tue Nov 23 20:48:48 EST 2021
#@#%# recon-all-run-time-hours 4.679
recon-all -s tutorial_output finished without error at Tue Nov 23 20:48:48 EST 2021
done4. Convert the FreeSurfer surfaces to STL files.
Next, I followed the last FreeSurfer step on the layer fMRI blog: converting the FreeSurfer surface output to STL files. First, I did the right hemisphere:
$ mris_convert /Applications/FreeSurfer/7.2.0/subjects/tutorial_output/surf/rh.pial rh.stl
Saving rh.stl as a surface
And next, I did the left hemisphere:
$ mris_convert /Applications/FreeSurfer/7.2.0/subjects/tutorial_output/surf/lh.pial lh.stl
Saving lh.stl as a surface
5. Open your STL files in MeshLab.
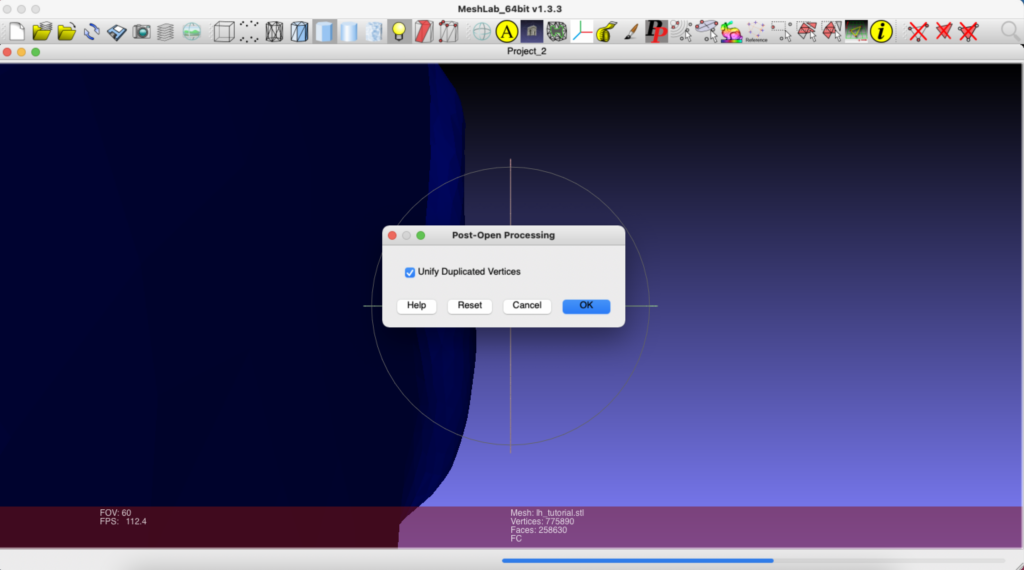
As suggested by the layer fMRI blog, I downloaded MeshLab *.dmg file to set up MeshLab on my Mac and opened it.
I then imported my left hemisphere STL file:
File > Import Mesh > /Applications/freesurfer/subjects/tutorial_output/surf/lh.stlI told MeshLab, OK, I wanted to Unify Duplicated Vertices.
I then repeated the same process for my right hemisphere STL file:
File > Import Mesh > /Applications/freesurfer/subjects/tutorial_output/surf/rh.stl
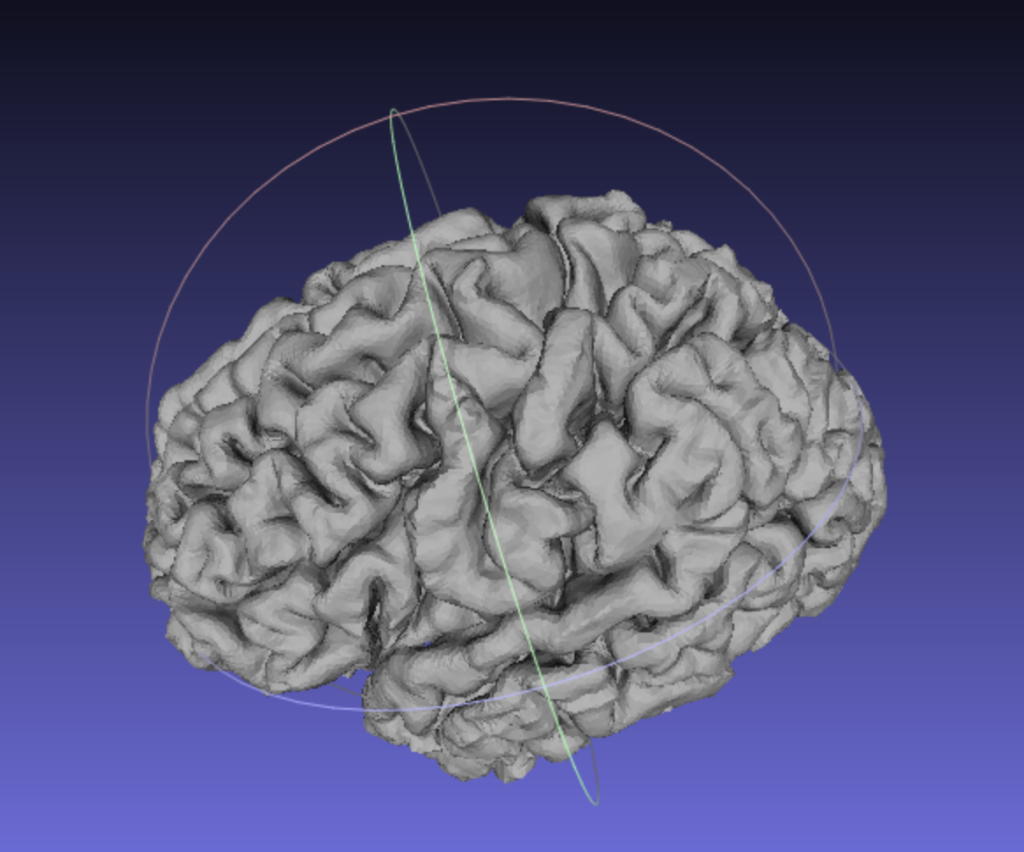
Unify Duplicated Vertices > OKThis gave me a whole 3D brain!

Next, as recommended by the layer fMRI blog, I applied a few filters.
Filters > Mesh Layer > Flatten Visible Layers > [keep all defaults checked] > ApplyThis turned my model color in MeshLab from blue to gray:

I applied the next filter, which layer fMRI says “cuts out wholes (holes?) and merges overlapping objects.”
Filters > Remeshing Simplification and Reconstruction > Quadric Edge Collapse DecimationLayer fMRI suggested 200,000 faces, so I just used the default setting for my model, which was 257,749 target faces.

And here was the resulting output:
And finally, I ran layer fMRI‘s last suggested filter, which further smoothed the model.
Filters > Smoothing, Fairing and Deformation > HC Laplacian SmoothThese steps produced, in my opinion, a pretty nice-looking 3D brain model!

However, instead of following layer’s last step to export my STL file now and send it off for printing, I wanted to first re-scale it. Unsurprisingly, a T1 scan of someone’s life-size brain results in a 3D model of their life-size brain… so rescaling was in order! Though a life-size brain model would be cool, that was not within my budget to print!
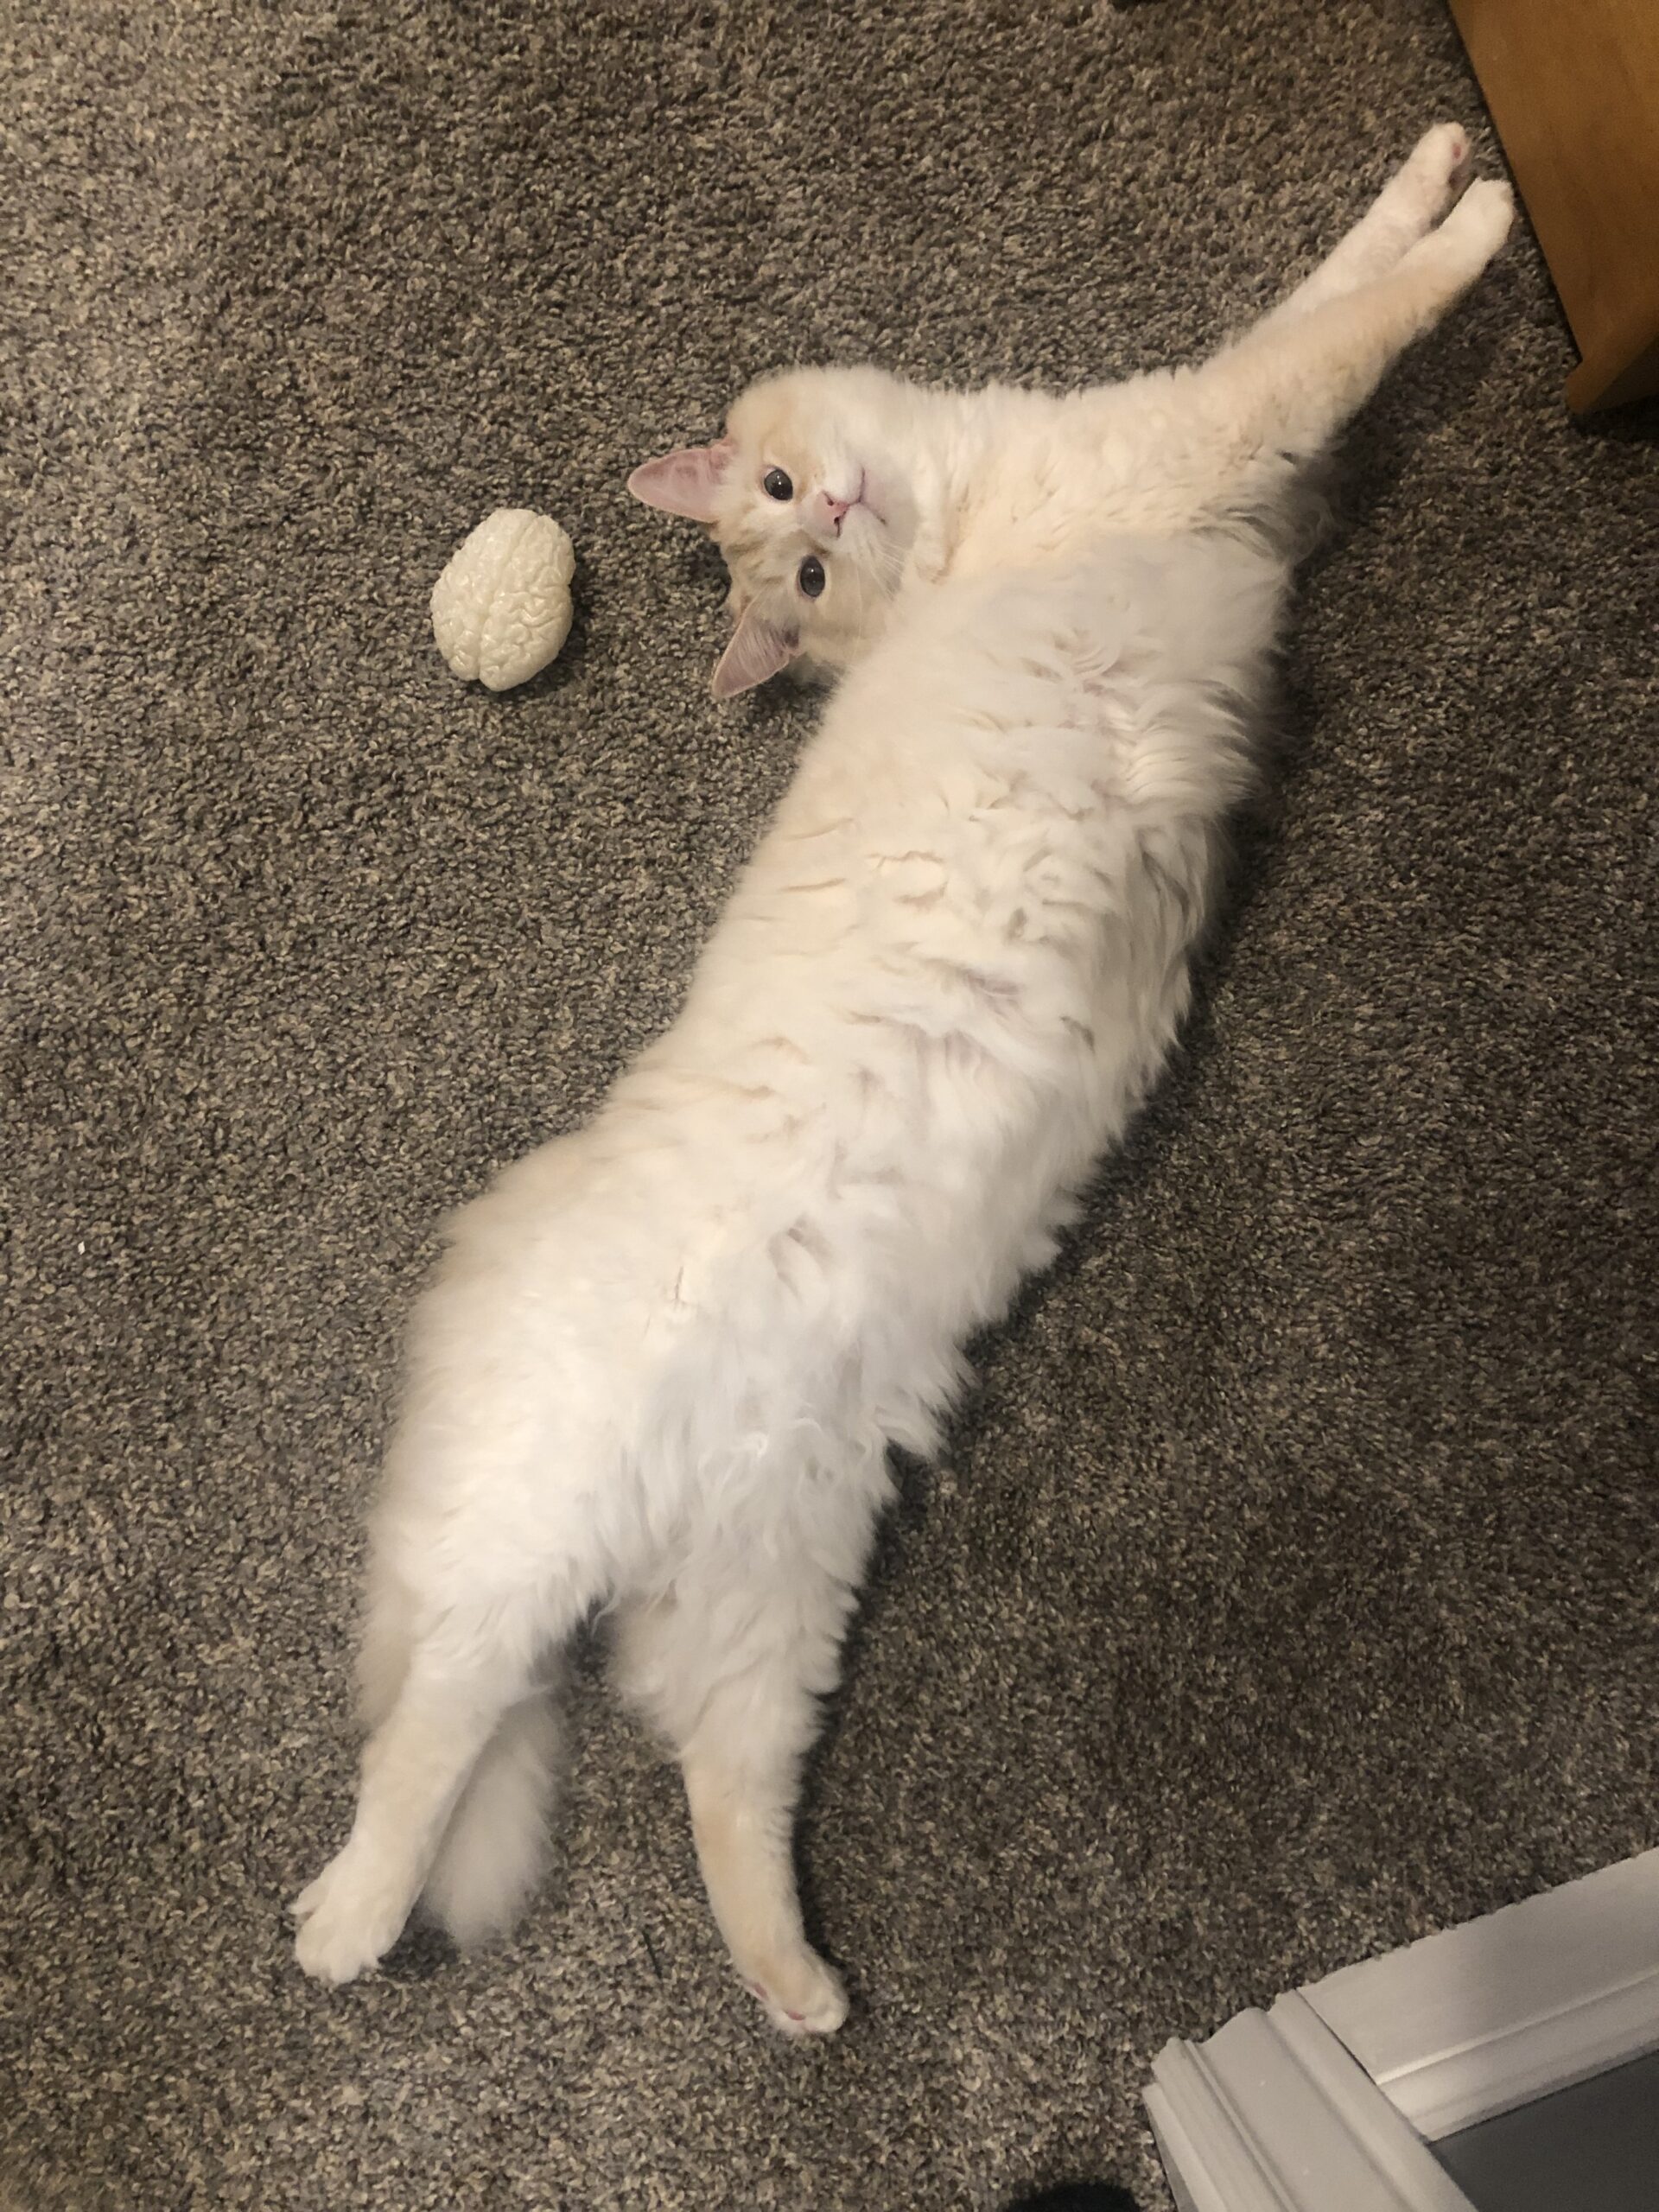
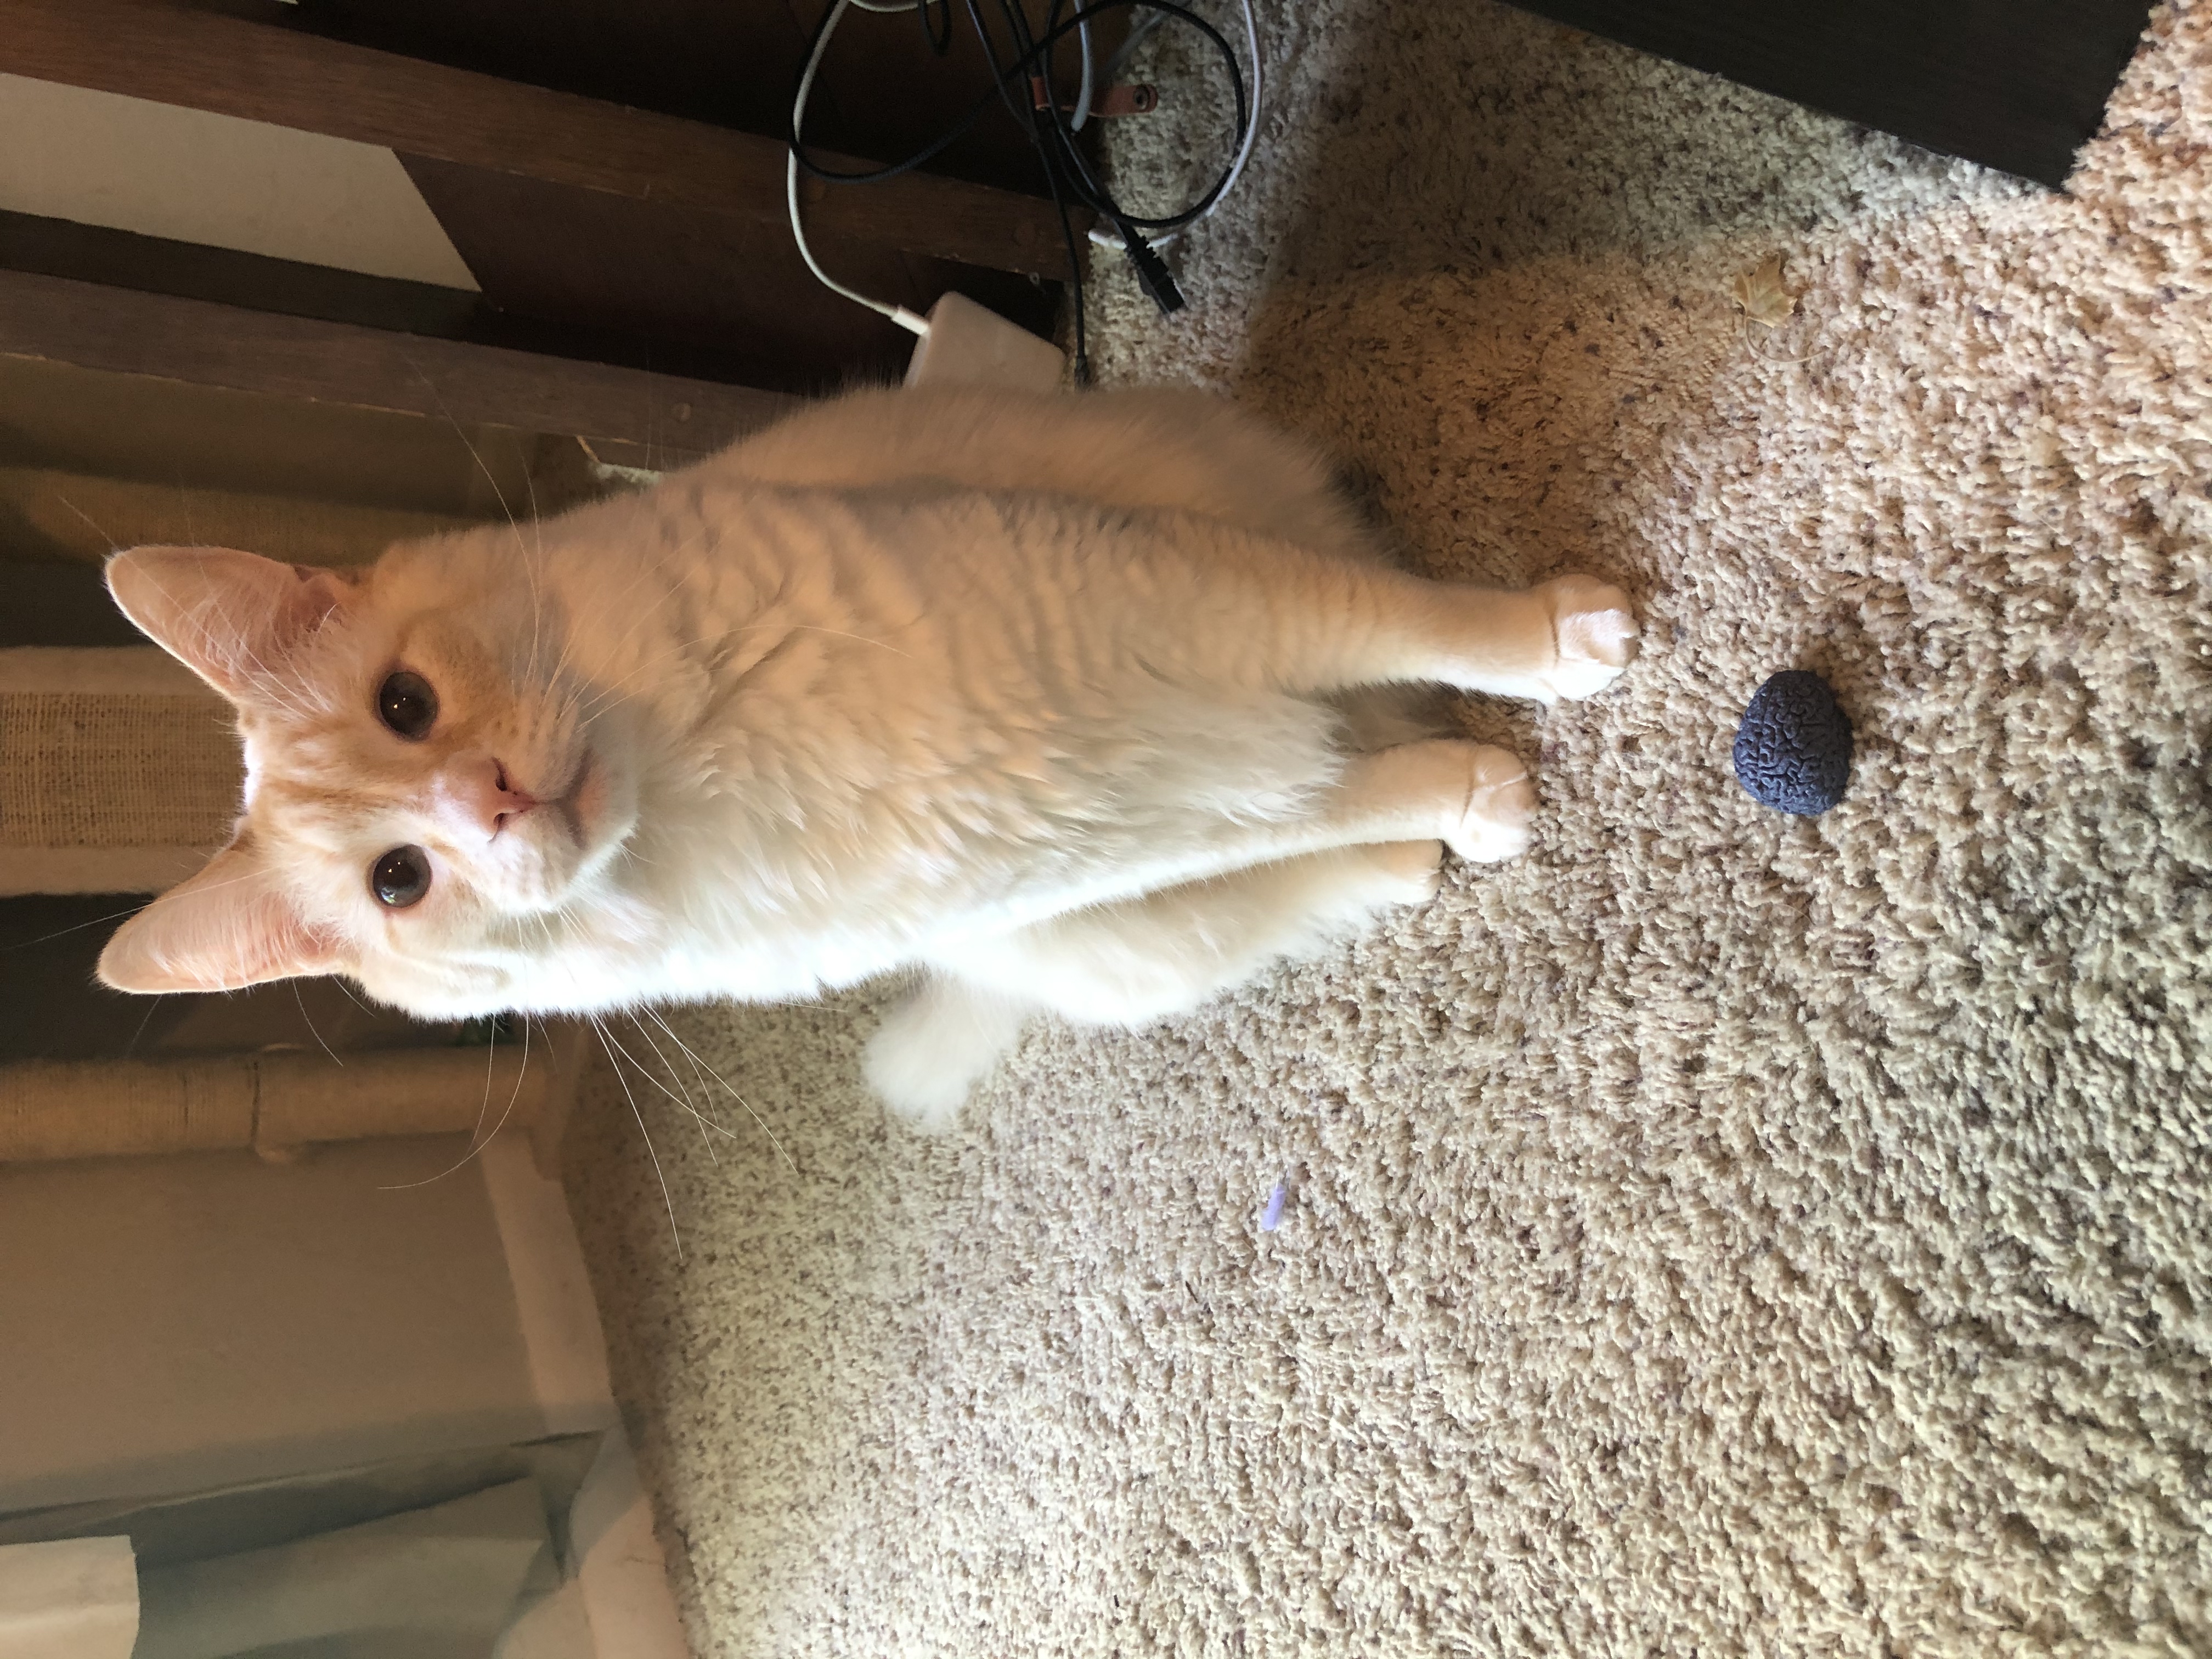
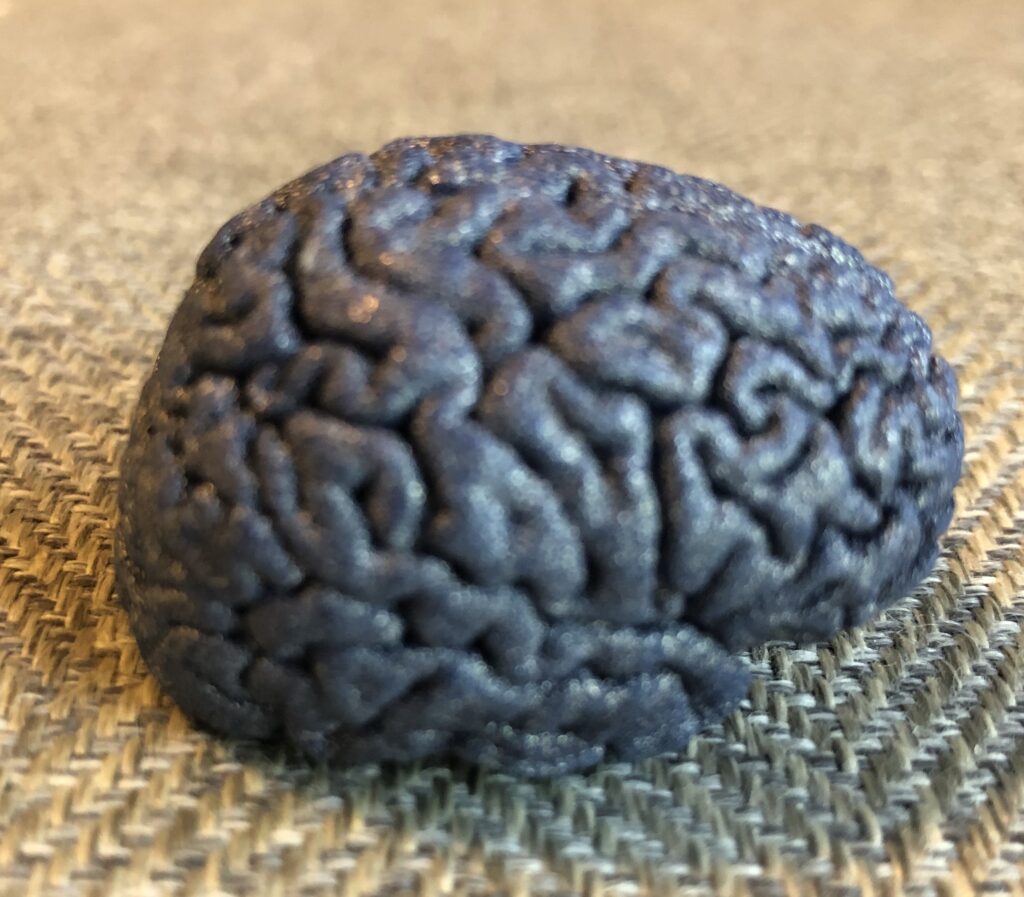
In my case, I set my STL file to be half the size of the original brain — though you could do whatever you’d like! A half-size brain makes a nice paperweight. Much smaller than that and you have a cat toy… all depends on your goals!
To re-scale my brain, I used:
Filters > Normals, Curvatures, and Orientation > Transform: ScaleThen I set the scale factors for the X, Y, and Z axes to 0.5 instead of 1 and hit Apply.
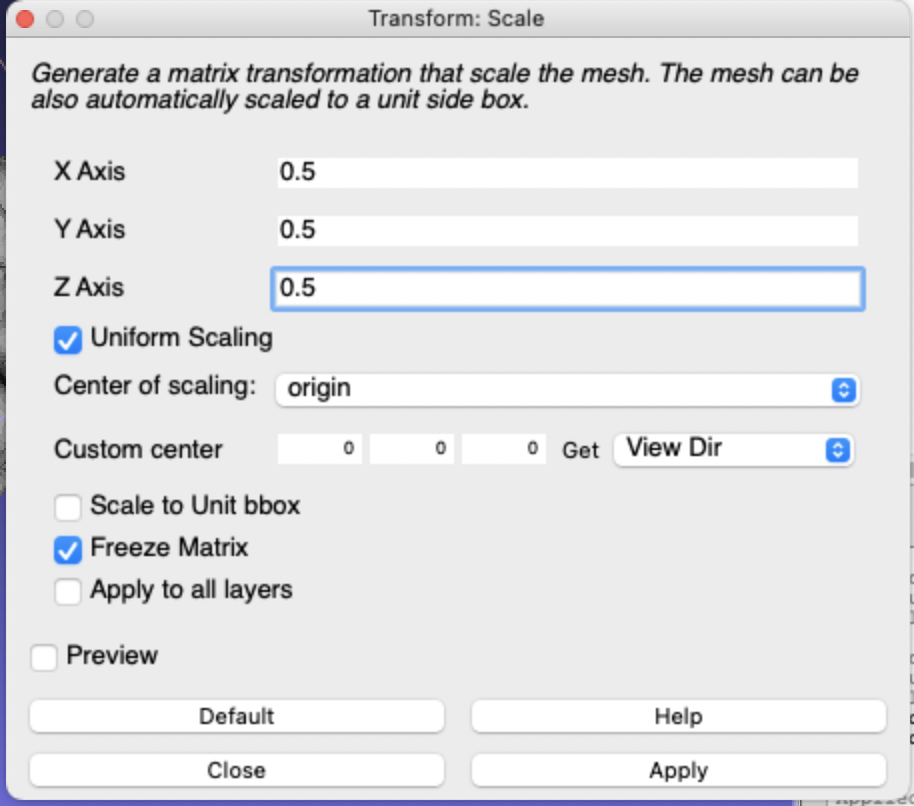
This gave me a brain half the size of the original — a perfect paperweight!

Finally, I exported my mesh as an STL file:
File > Export mesh [> set output to STL > named my file "edited_tutorial_brain" > used all defaults] 
6. Print your brain!
If you have access to a 3D printer, your STL file should be ready to go! If you don’t have access to a 3D printer and you’re not sure where to 3D print your brain, read on.
First, if you’re at a university, I’d check there. This will probably be the cheapest and quickest printing method. Many universities provide students with free or discounted 3D printing — though submission requirements, training, etc. may vary — but check for such options first.
Alternatively, if you want to send your STL file off somewhere for printing (because, like in my case, COVID shut down said 3D printing resources for students), then there are many potential sites available if you run a quick Google search.
I previously used Sculpteo for one project.
-Pros: many different options for materials + colors for printing
-Cons: since I last used them, their prices have increased. Shipping was also quite slow… about 1 month from placing the order to them shipping it
Most recently, I used Voodoo.
-Pros: very fast, shipped within a few days after placing order. User-friendly site.
-Cons: fewer materials + colors + [no] rescaling options
On Voodoo, you can play around with different filaments, colors, etc. and see how this affects your pricing. Note, though, that it doesn’t look like you can play with model scaling on Voodoo [whereas you can on other sites], so if you want to see how brain size affects your cost, then you’ll need to head back to MeshLab, rescale your model, and save/upload a new version — which is a little bit annoying.

Anyhow, the verdict: I’d do your own comparisons if looking for a printing company, as new players keep entering the game, and price points keep changing. However, right now, I’d probably recommend Voodoo.
7. Enjoy your brain!
Congrats – now you have a 3D-printed brain! Depending on the size you printed, you have a stylish [weird] new paperweight, or a funky [creepy] new cat toy! Enjoy.