Here I’ll start an ongoing list of shortcuts, tips, etc. for using Adobe Illustrator. Caveat: I’m ~totally~ new to Illustrator, and mostly just Googling answers to my questions to accomplish very specific tasks [so, I’m still unsure if I’m asking the right questions + definitely do not yet know the full capabilities of Illustrator].
Keyboard shortcuts
CMD + SHIFT + D: toggle the transparency grid on and off (i.e., turn off the default ‘white background’ and see which parts are actually white, vs. which parts are transparent).
CMD + Z: undo
CMD + SHIFT + Z: redo… note: redo is NOT CMD+Y.
v key: selection tool – generally select groups of objects
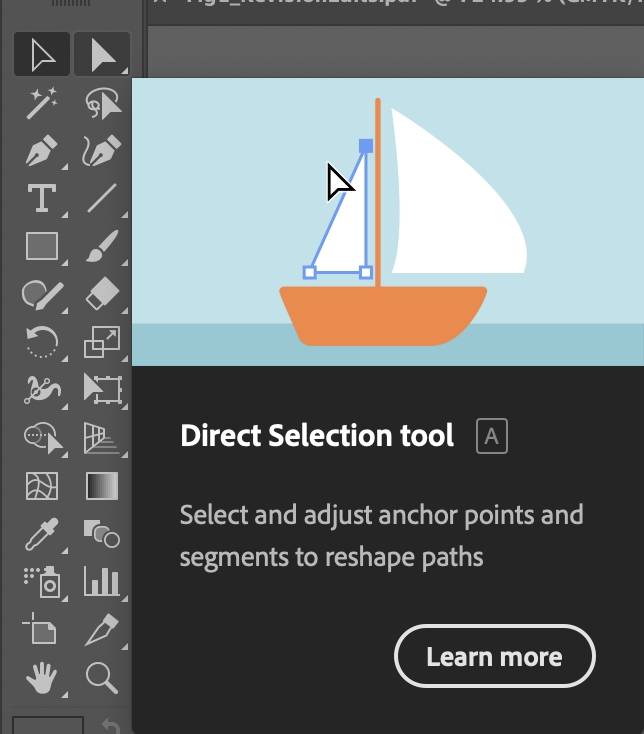
a key: direct selection tool – select small parts of things, like lines, shapes within a bigger object after image tracing, etc.
Rotate something by a certain angle
Select the object -> double click the ‘rotate’ menu (which also comes up if you hit the ‘r’ key) -> this brings up the rotate options box -> enter an angle (e.g., 90 degrees) to rotate by a specific amount (instead of just rotating the object yourself).

Getting rid of image backgrounds
This is a massive topic, with tons of online documentation, but here are some basics.
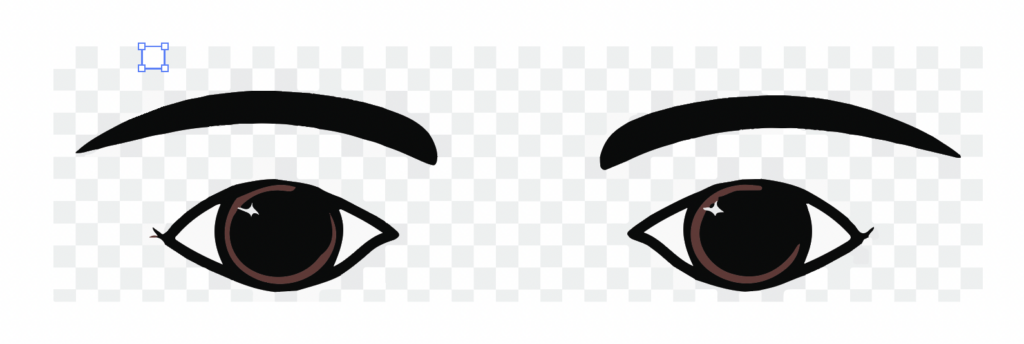
Starting image: some eyes, with a ‘transparent’ background, except it’s not transparent because I pulled this *.png file from the internet and couldn’t download the actual file with the background removed, and it’s not already a vector file — so it’s got a weird checkerboard in the background, instead of transparency.
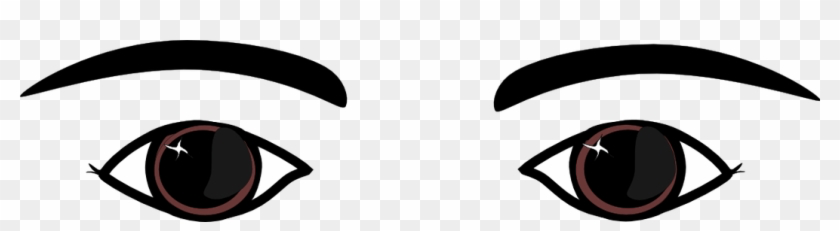
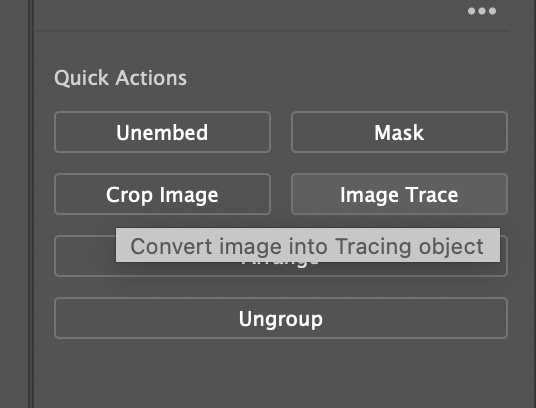
Image trace: after copy-pasting the image into Illustrator, my next step is to use Image Trace. For me, Image Trace is in the righthand toolbar. For this image, I hit image trace -> 6 colors, since this image has >3 colors I want to keep, but is still pretty simple. Depending on your image complexity, you’ll need to play around with the different trace options.
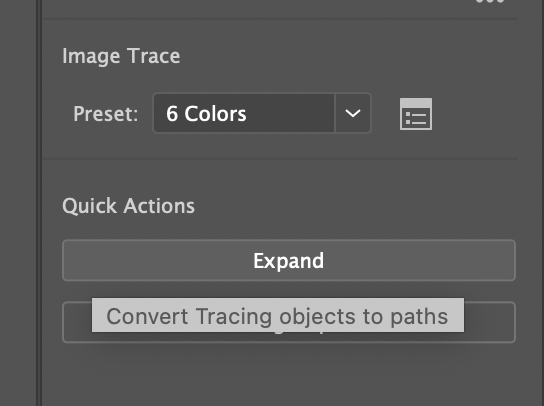
Expand: next, I hit ‘expand’ to expand my image into the traced parts.
This definitely expanded it! Now I have a ton of little bits to work with. If I only wanted to get rid of a few things, like the eyebrows, I could just delete those now and move on. However, in this case, I want to get rid of the whole checkerboard background. Again, I could just start going through and deleting everything I don’t want, but there’s one additional step that will save a lot of time.

Click the direct selection tool (white filled arrow) and use this to select one of the little white or gray boxes.
Then, go to Select -> Same -> Fill Color, and it will automatically select everything that matches the color of the little box you have selected.
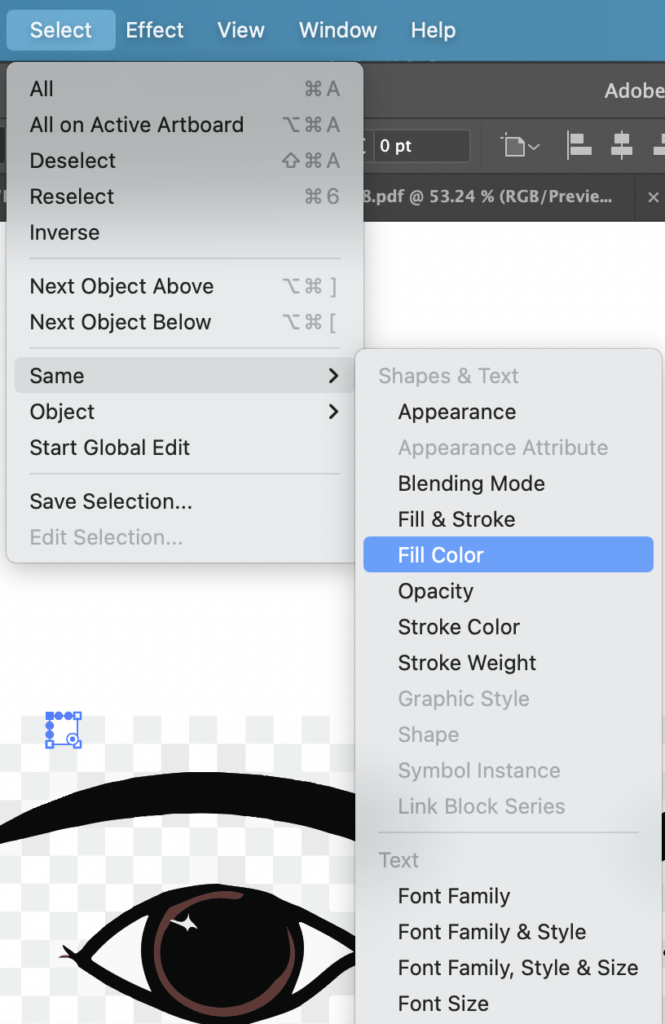
Huzzah, now all the little white boxes are selected. I can just delete these (using the delete key).

Then, you can do the same with the little gray boxes. Click on one using the direct selection tool -> select -> same -> fill color -> delete. This should essentially get you to the finish line of removing the whole background in a simple image like this one; however, you may need to do a bit more selecting and deleting to finish cleaning it up to your liking.
Artboard options
My understanding is that artboards = your canvas. You can set the artboard size and later change the size. You can also have >1 artboard per project. See Adobe’s description of artboards for more info.
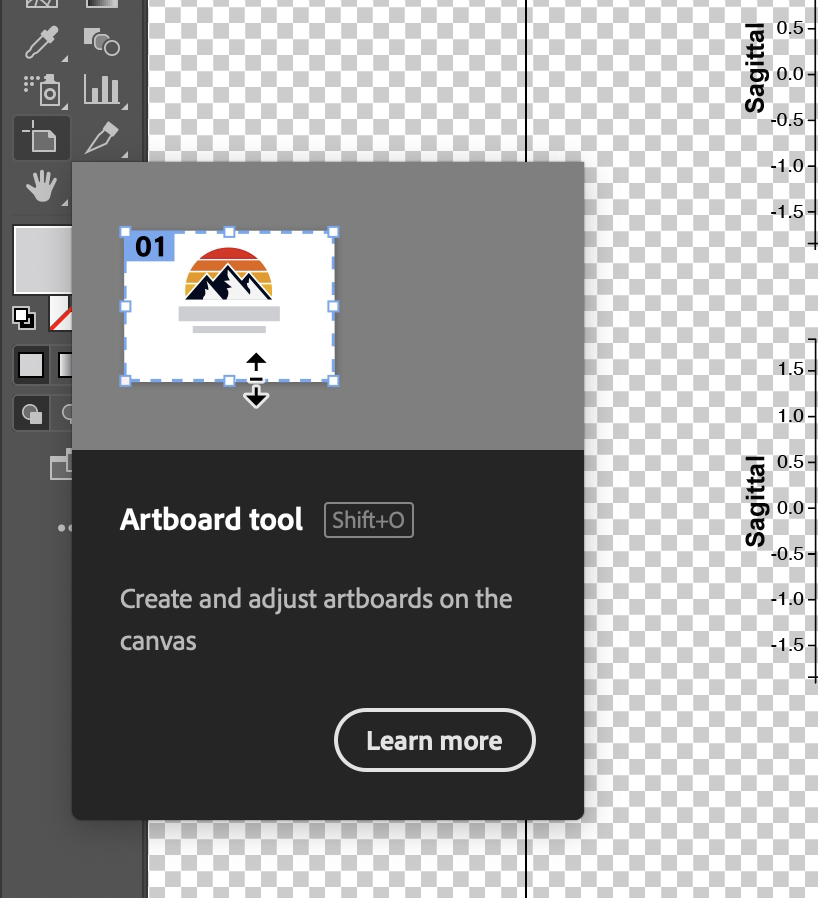
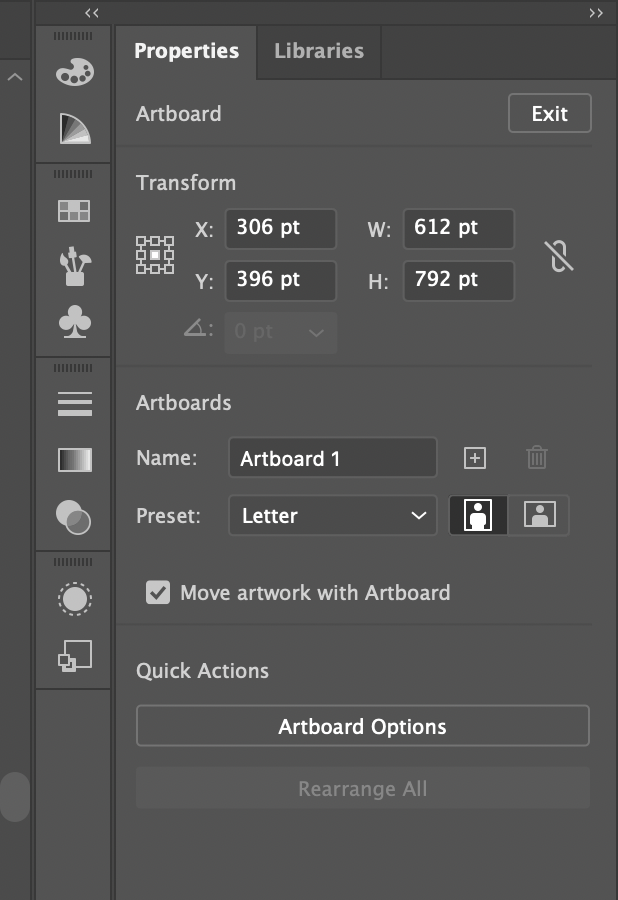
After you click the artboard tool, different options will come up in your righthand toolbar. These let you change the artboard size to various presets or a custom size, rename the artboard, and so on:
Object -> Artboards -> Fit to Artwork Bounds: This sizes your ‘artboard’ so that there’s minimal / no whitespace around the actual ‘stuff’ in your figure. This is a good last step before saving and exporting to get rid of surplus white space.
You can also change the size of the artboard by just dragging the corners of it to the desired size, as shown below; note, though, that you need the artboard tool selected to be able to do this.